How to Make Marbled Eggs With Shaving Cream
You may be surprised when you see that these beautiful marbled Easter eggs are made using a secret ingredient to dye the eggs– shaving cream! This fun method of marbleizing Easter eggs is a perfect activity for both kids and adults alike, and the end result is gorgeous spring decor for your Easter table.
Looking for more spring seasonal ideas? here's a nature-inspired DIY spring wreath you can make in about an hour or a free printable spring cleaning calendar to get your Spring Cleaning finished by tackling just one task a day for 31 days.

When he was in preschool, my son came home with marbled Easter eggs as an art project. I was in awe that 3 year olds could make such gorgeous patterns, and then the teacher told me that they'd dyed them using the shaving cream method and I grilled her for the step-by-step! While a bit messy, it was effective, and they had a blast rolling the eggs in the shaving cream and wiping it off to reveal their bright and beautiful Easter art.
I knew one day I'd have to share the tutorial on the blog, because WOAH those eggs were purdy and it still makes me smile whenever we dye eggs this way!

To show you how we replicated the shaving cream Easter Eggs, we whipped up a little video to explain the process (keep scrolling for the written step-by-step tutorial if you prefer):
Are Eggs Dyed with Shaving Cream Safe to Eat?
Egg shells are porous, so I understand being skeptical whether you should eat dyed eggs that used this method. I'll leave that decision up to you, you might prefer them simply as Easter decorations and not as food. If you prefer, you can use whipped cream instead it will make them 100% edible! The colors may look more tie-dyed than marbled, but at least you can eat them. 🙂

How to Make Marbled Easter Eggs Using Shaving Cream
Here's the step-by-step tutorial for making the Easter eggs using this marbleizing method.

Materials:
vinegar
bowl
hard-boiled eggs
food coloring
toothpick
shaving cream or whipped cream
baking sheet
tongs
paper towels
wire rack
Instructions:
1. Soak hard boiled eggs covered in a vinegar for a few minutes. This will make the colors brighter and more vibrant.
2. While soaking, fill a baking sheet with shaving cream (or whipped cream.)
3. Drop in a food coloring and swirl with a toothpick just enough for a marble effect. You can do this with different colors in various parts of the sheet to make each egg unique.
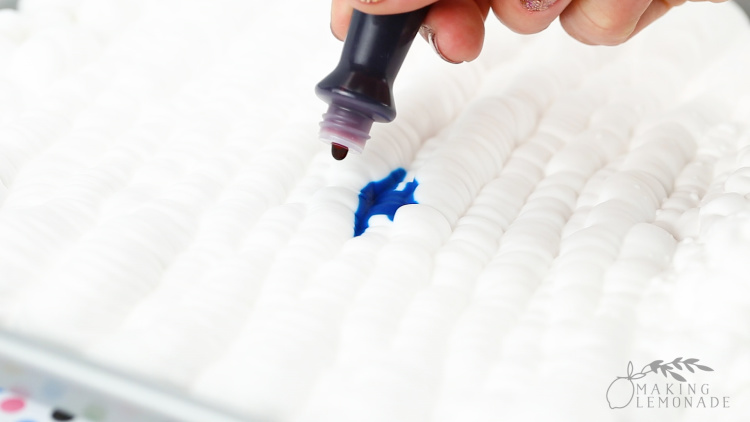
4. Pull out the eggs from the vinegar, wipe off with a paper towel until dry.
5. Use tongs to place an egg into the shaving cream one at a time and roll until covered with shaving cream/dye. Try to do it in one roll, otherwise the colors can get mixed up and look dull. Pull out the egg and place on a wire rack with newspaper underneath to protect the table. Do this with all the eggs, varying colors as you go.
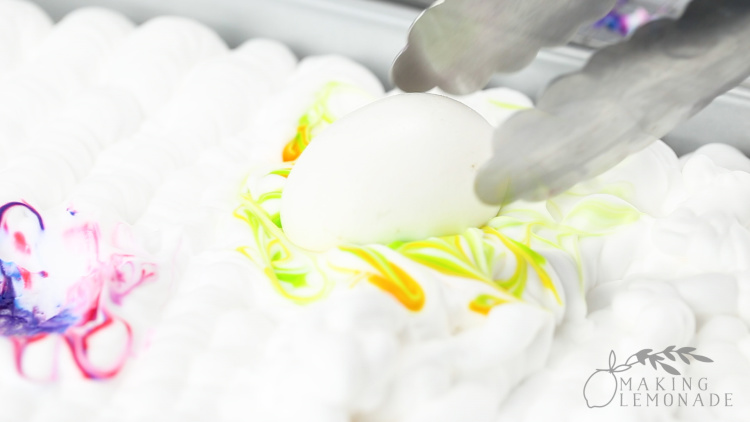
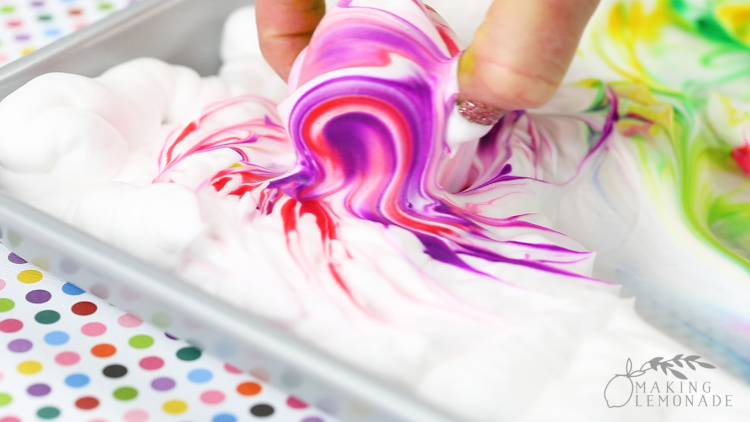
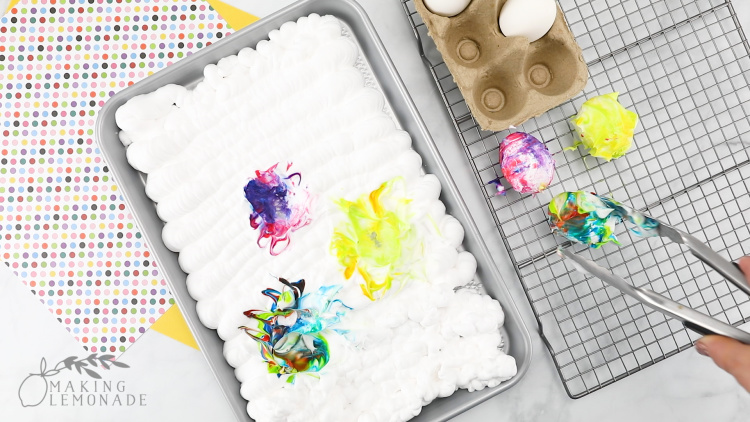
6. Let sit for about 10 minutes, then wipe the shaving cream off each egg. Voila, gorgeous marbled Easter eggs!
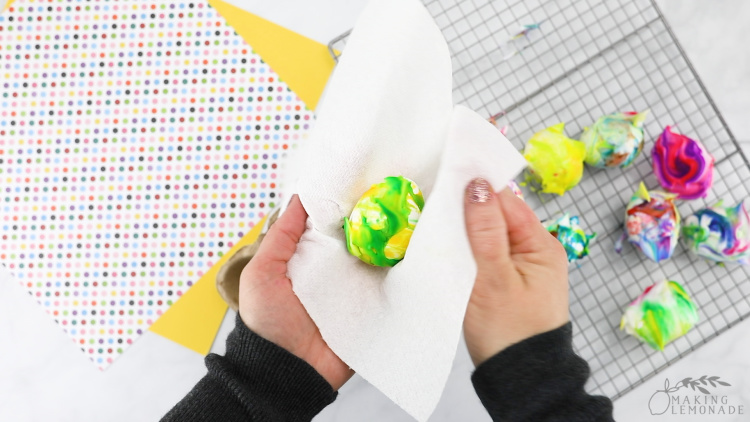

Aren't those so easy and pretty? If your toddler is too young to easily use tongs, you can have them wear rubber gloves or even use their fingers if you don't mind colorful hands for a few days (been there, done that!)
This is my first post in a really long time with an accompanying video– what do you think? Are video tutorials helpful?
And I'd love to know your favorite way to dye Easter eggs!

This post is sponsored by my Young Living business! 😉 Check out my essential oils page for more information on how you can get these amazing oils in your hands too along with helpful freebies, a gift from me, and tons of support:

How to Make Marbled Eggs With Shaving Cream
Source: https://makinglemonadeblog.com/marbleized-marbled-dye-easter-eggs-with-shaving-cream/
0 Response to "How to Make Marbled Eggs With Shaving Cream"
Post a Comment